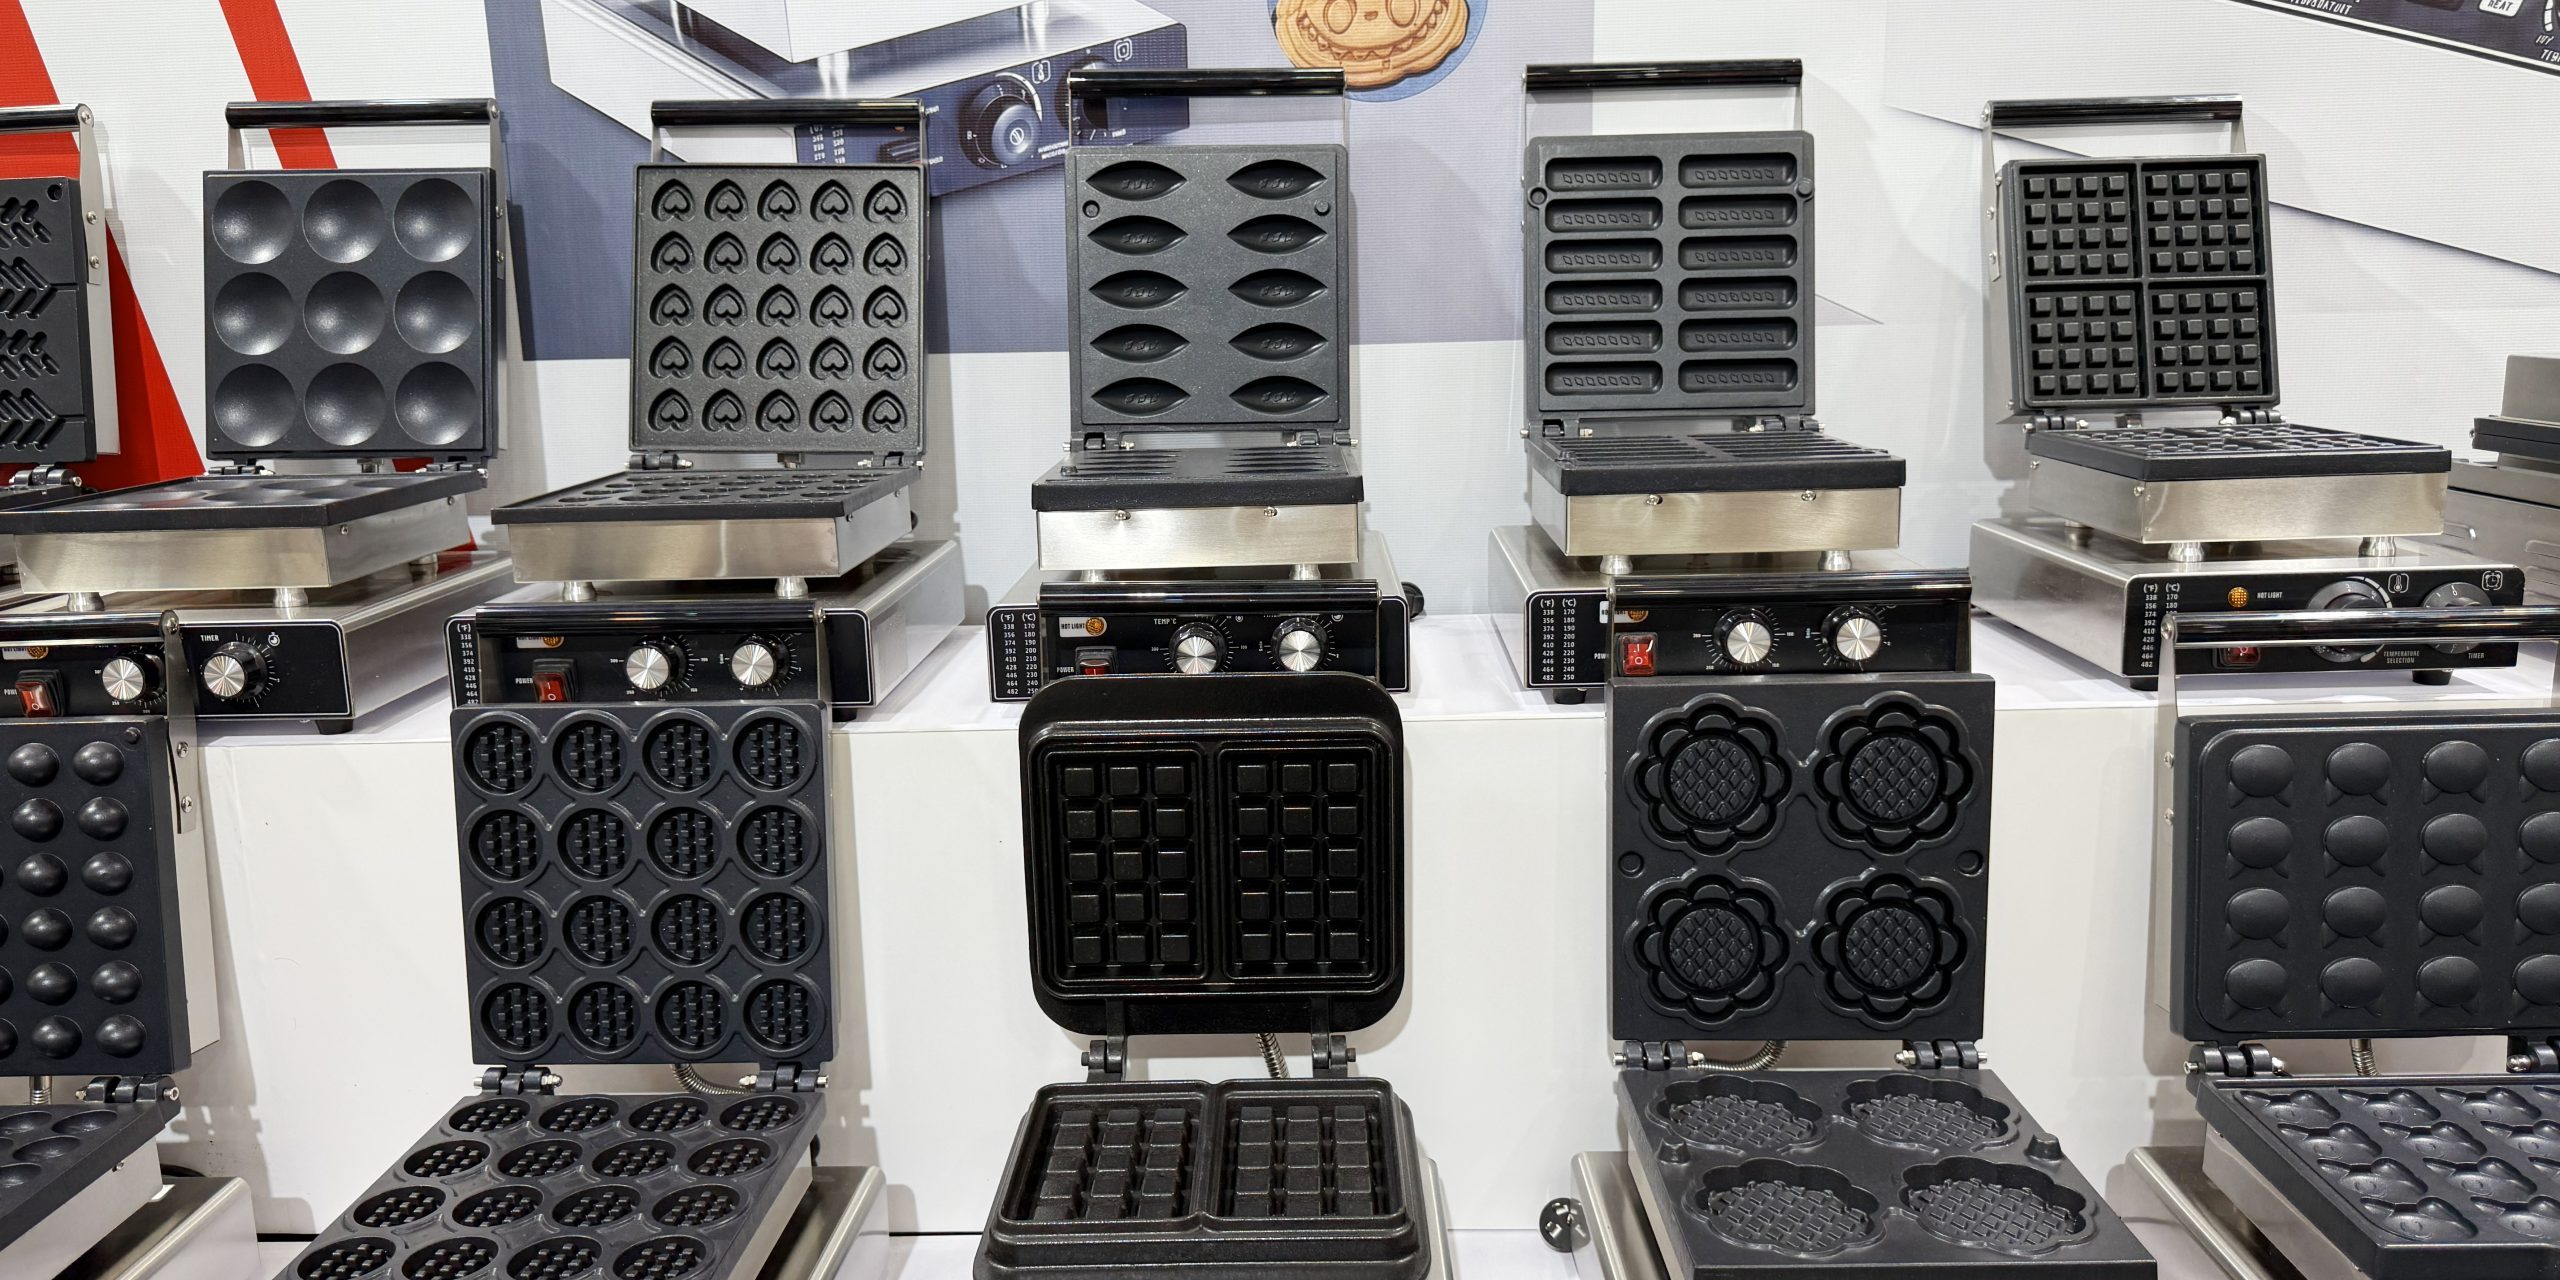
In the competitive landscape of commercial food service, menu differentiation is a critical driver of brand recall. Standard Belgian or bubble waffles are functional, but they lack the unique visual identity that drives social media engagement and customer loyalty. Customizing your waffle molds allows you to transform a generic breakfast item into a signature brand asset—whether it is a logo-embossed wafer, a landmark-shaped snack, or a thematic character design.
For kitchen managers and equipment procurers, the value of customization extends beyond aesthetics. It involves precise engineering to ensure the custom shape cooks evenly, releases easily, and withstands the rigors of high-volume commercial use. This guide details the technical process of waffle maker customization, from initial CAD design to the final application of non-stick coatings.
The 4-Step Manufacturing Process
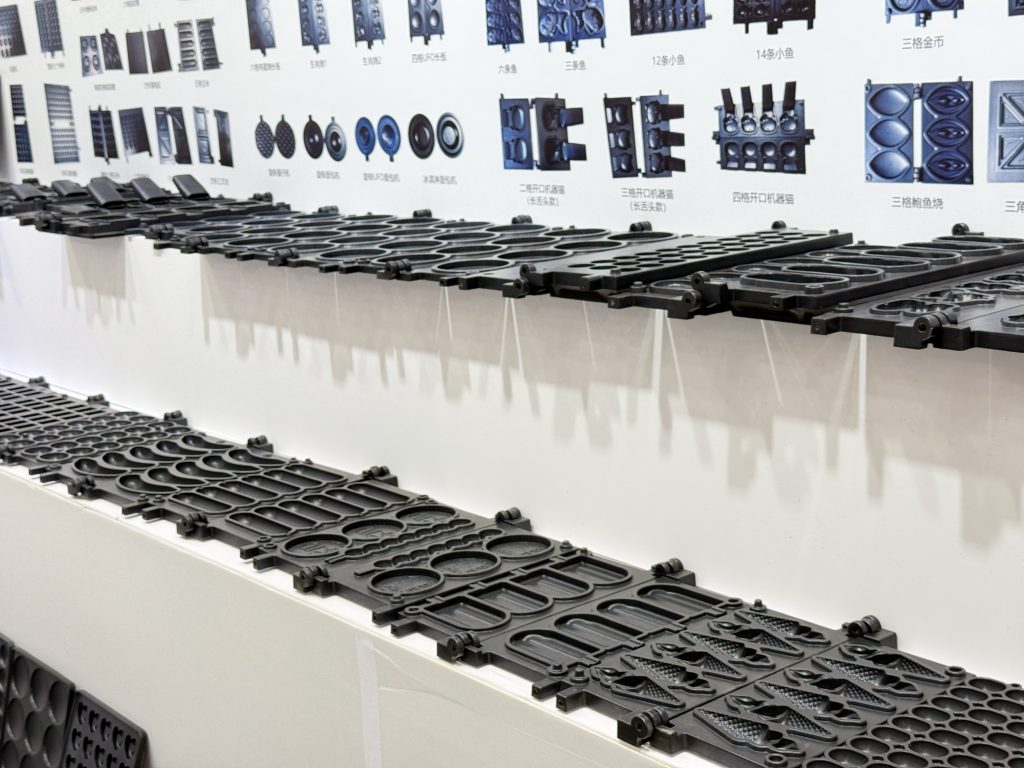
Creating a custom commercial waffle maker is not merely about machining a shape; it requires a systematic manufacturing workflow to ensure the final product is thermally efficient and durable. The process follows four distinct engineering stages:
1. Waffle Mold Design (CAD & Prototyping)
The process begins with a 2D or 3D design file. If you do not have a CAD file, engineering teams can convert a high-resolution logo or sketch into a technical drawing. This stage is crucial for determining “draft angles”—the slight taper required on vertical walls to ensure the waffle can be removed from the mold without tearing.
2. Mother Mold Production (Sand Casting)
Once the design is approved, a “mother mold” is created using sand casting techniques. Sand casting is preferred for waffle plates because it allows for complex geometries and thick walls that retain heat effectively. This base mold serves as the negative for the aluminum casting.
3. Casting Trim and Grinding
Raw aluminum castings emerge with rough edges and “gates” (where the molten metal entered the mold). In this phase, technicians trim the excess metal and grind the surface to a smooth finish. This step is vital for safety and hygiene, ensuring there are no crevices for batter to accumulate and bacteria to grow.
4. Industrial Teflon Coating
The final step is the application of a commercial-grade Teflon (PTFE) coating. This is not a standard consumer spray; it is an industrial bonding process that ensures the non-stick surface adheres to the aluminum substrate. This coating is essential for high-throughput kitchens, reducing the need for oil and speeding up the cleaning process.
Material Specifications and Performance
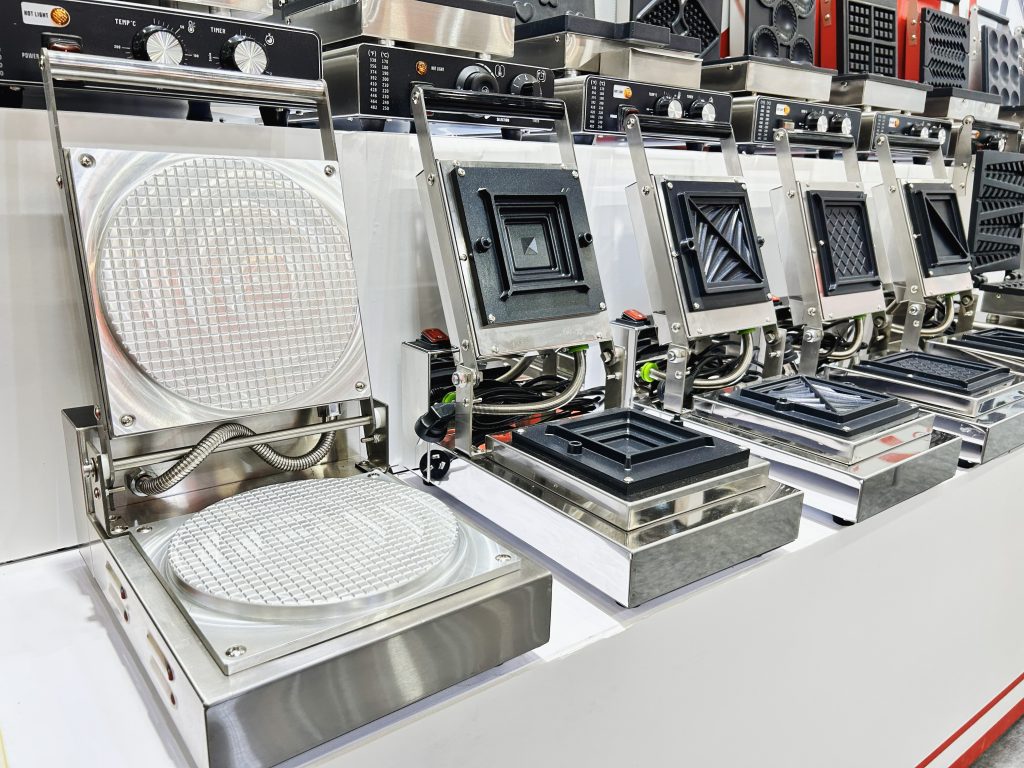
The durability of a custom waffle maker depends heavily on the materials selected. Commercial customization utilizes specific alloys to balance heat retention with weight.
| Component | Material | Technical Benefit |
|---|---|---|
| Mold Plates | Cast Aluminum | Superior thermal conductivity ensures even browning; lighter weight reduces hinge stress. |
| Machine Body | Stainless Steel | Corrosion-resistant, easy to sanitize, and withstands commercial kitchen humidity. |
| Coating | Industrial PTFE (Teflon) | Prevents batter adhesion, minimizes oil usage, and ensures intact waffle removal. |
Design Constraints for Optimal Results
Not every logo or shape translates perfectly into a waffle. To ensure your custom mold functions correctly in a commercial environment, consider the following technical constraints:
- Detail Density: Extremely fine lines in a logo may not fill with batter or may burn easily. Bold, simplified shapes work best.
- Thickness Uniformity: The design should have relatively uniform thickness. Varying thickness can lead to uneven cooking—burnt thin spots and undercooked thick spots.
- Draft Angles: Vertical edges must be angled (typically 3-5 degrees) to allow the waffle to release from the mold. Perfectly vertical walls will cause the waffle to stick and tear.
Key Takeaways
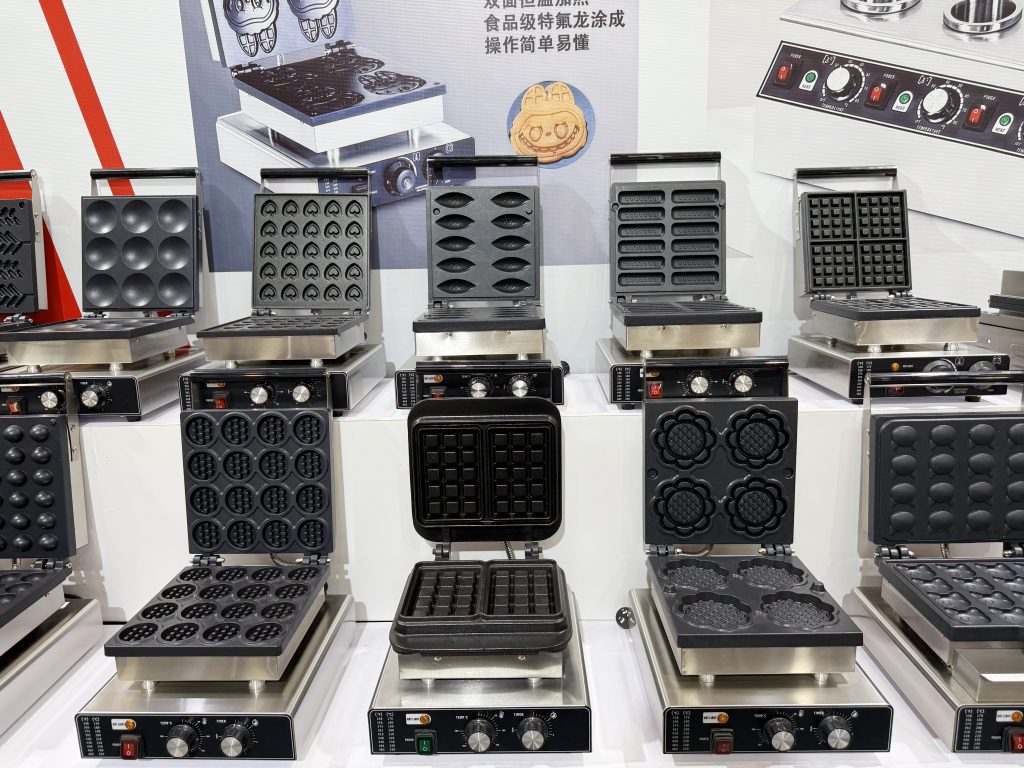
Customizing your waffle molds is a strategic investment in brand identity that requires careful technical planning. By understanding the manufacturing process—from sand casting to Teflon coating—you can design a product that is both visually striking and operationally efficient.
- Process: Customization involves a 4-step cycle: Design, Mother Mold, Casting/Trim, and Coating.
- Materials: Aluminum is used for plates due to heat conductivity; stainless steel for the body for durability.
- Design: Simplify logos and ensure proper draft angles to prevent sticking and uneven cooking.
- ROI: Custom molds provide a unique selling proposition that differentiates your menu in a crowded market.